203 lines
6.2 KiB
Markdown
203 lines
6.2 KiB
Markdown
---
|
||
navigation: true
|
||
title: Uptime-Kuma
|
||
main:
|
||
fluid: false
|
||
---
|
||
:ellipsis{left=0px width=40rem top=10rem blur=140px}
|
||
# Uptime-Kuma
|
||
|
||
::alert{type="info"}
|
||
🎯 __Goals:__
|
||
- Install and deploy Uptime-Kuma
|
||
- Expose Uptime-Kuma
|
||
- (Optional) Protect Uptime-Kuma with Authentik
|
||
::
|
||
|
||
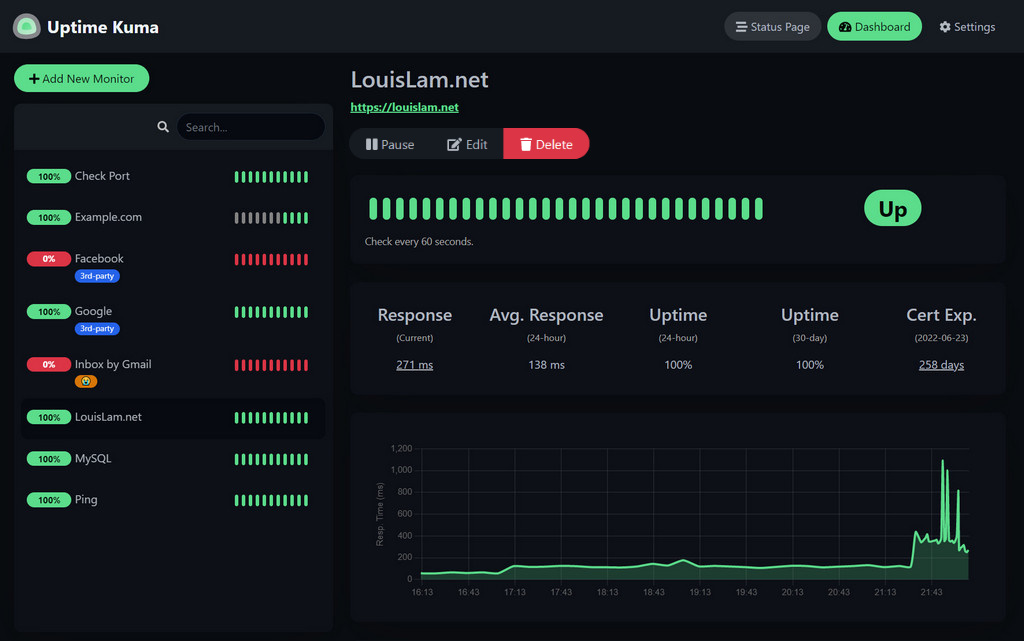
[Uptime-Kuma](https://github.com/louislam/uptime-kuma) is a container dedicated to service monitoring. The principle is to regularly send requests to your services to determine if they are online, and alert you if not. Uptime-Kuma is developed by the same developer as Dockge.
|
||
|
||
|
||
|
||
## Installation
|
||
---
|
||
Folder structure
|
||
|
||
```console
|
||
root
|
||
└── docker
|
||
└── uptime-kuma
|
||
├── date
|
||
└── compose.yaml
|
||
```
|
||
|
||
Open Dockge, click on `compose`, name the stack `uptime-kuma`, then copy and paste the following:
|
||
|
||
```yaml
|
||
---
|
||
services:
|
||
uptime-kuma:
|
||
image: louislam/uptime-kuma:1
|
||
container_name: uptime-kuma
|
||
volumes:
|
||
- /docker/uptime-kuma/uptime-kuma-data:/app/data
|
||
ports:
|
||
- 3200:3001 # <Host Port>:<Container Port>
|
||
restart: always
|
||
```
|
||
::alert{type="success"}
|
||
✨ __Tip:__ Add the Watchtower label to each container to automate updates
|
||
|
||
```yaml
|
||
services:
|
||
uptime-kuma:
|
||
#...
|
||
labels:
|
||
- com.centurylinklabs.watchtower.enable=true
|
||
::
|
||
|
||
You can now access the tool via `http://yourserverip:3200`.
|
||
|
||
::alert{type="danger"}
|
||
:::list{type="danger"}
|
||
- __If it fails:__ check your firewall rules.
|
||
:::
|
||
::
|
||
|
||
## Expose with Swag
|
||
---
|
||
::alert{type="info"}
|
||
📋 __Before you begin:__
|
||
<br/><br/>
|
||
We assume you have the subdomain `stats.mydomain.com` with a `CNAME` pointing to `mydomain.com` in your [DNS zone](/general/networking/dns). And of course, [unless you're using Cloudflare Zero Trust](/serveex/security/cloudflare), port `443` of your router should point to port `443` of your server via [NAT rules](/general/networking/nat).
|
||
::
|
||
|
||
::alert{type="warning"}
|
||
:::list{type="warning"}
|
||
- Uptime-Kuma does not use multi-factor authentication. Exposing Uptime-Kuma on the internet could compromise the machines it monitors. Only do this if you're using an MFA system like [Authentik](/serveex/security/authentik/). Otherwise, don’t expose it with SWAG; use a VPN like [Wireguard](/serveex/security/wireguard) instead.
|
||
:::
|
||
::
|
||
|
||
In the Swag folders, create the `stats.subdomain.conf` file.
|
||
|
||
::alert{type="success"}
|
||
✨ __Tip for those who dislike the terminal:__
|
||
you can use [File Browser](/serveex/files/file-browser) to browse and edit your files instead of using terminal commands.
|
||
::
|
||
|
||
```shell
|
||
sudo vi /docker/swag/config/nginx/proxy-confs/stats.subdomain.conf
|
||
```
|
||
Enter insert mode with `i` and paste the following config:
|
||
|
||
```nginx
|
||
## Version 2023/12/19
|
||
|
||
server {
|
||
listen 443 ssl;
|
||
listen [::]:443 ssl;
|
||
|
||
server_name stats.*;
|
||
|
||
include /config/nginx/ssl.conf;
|
||
|
||
client_max_body_size 0;
|
||
|
||
#if ($lan-ip = yes) { set $geo-whitelist yes; }
|
||
#if ($geo-whitelist = no) { return 404; }
|
||
if ($geo-blacklist = no) { return 404; }
|
||
|
||
# enable for ldap auth (requires ldap-location.conf in the location block)
|
||
#include /config/nginx/ldap-server.conf;
|
||
|
||
# enable for Authelia (requires authelia-location.conf in the location block)
|
||
#include /config/nginx/authelia-server.conf;
|
||
|
||
# enable for Authentik (requires authentik-location.conf in the location block)
|
||
#include /config/nginx/authentik-server.conf;
|
||
|
||
location / {
|
||
# enable the next two lines for http auth
|
||
#auth_basic "Restricted";
|
||
#auth_basic_user_file /config/nginx/.htpasswd;
|
||
|
||
# enable for ldap auth (requires ldap-server.conf in the server block)
|
||
#include /config/nginx/ldap-location.conf;
|
||
|
||
# enable for Authelia (requires authelia-server.conf in the server block)
|
||
#include /config/nginx/authelia-location.conf;
|
||
|
||
# enable for Authentik (requires authentik-server.conf in the server block)
|
||
#include /config/nginx/authentik-location.conf;
|
||
|
||
include /config/nginx/proxy.conf;
|
||
include /config/nginx/resolver.conf;
|
||
set $upstream_app uptime-kuma;
|
||
set $upstream_port 3001;
|
||
set $upstream_proto http;
|
||
proxy_pass $upstream_proto://$upstream_app:$upstream_port;
|
||
|
||
}
|
||
}
|
||
```
|
||
|
||
Press `Esc`, then save and exit with `:x` and `Enter`.
|
||
|
||
In Dockge, edit the SWAG compose and add the Uptime-Kuma network:
|
||
|
||
```yaml
|
||
services:
|
||
swag:
|
||
container_name: # ...
|
||
# ...
|
||
networks: # Link container to custom network
|
||
# ...
|
||
- uptime-kuma # Name of the declared network
|
||
|
||
networks: # Define custom network
|
||
# ...
|
||
uptime-kuma: # Name of the declared network
|
||
name: uptime-kuma_default # Actual name of the external network
|
||
external: true # Specifies it's an external network
|
||
```
|
||
|
||
Restart the stack and wait until SWAG is fully operational.
|
||
|
||
::alert{type="info"}
|
||
:::list{type="info"}
|
||
- Here we assume that the network name of Uptime-Kuma is `uptime-kuma_default`. You can verify the connection by visiting SWAG's dashboard at `http://yourserverip:81`.
|
||
:::
|
||
::
|
||
|
||
That's it! Uptime-Kuma is now exposed, and you can access it via `https://stats.mydomain.com`.
|
||
|
||
::alert{type="success"}
|
||
✨ __Tip:__
|
||
<br/><br>
|
||
You can protect this app with Authentik by opening `stats.subdomain.conf` and uncommenting the lines:
|
||
`include /config/nginx/authentik-server.conf;`
|
||
and
|
||
`include /config/nginx/authentik-location.conf;`.
|
||
Don’t forget to [create an application and provider in Authentik](/serveex/security/authentik#protecting-an-app-via-reverse-proxy). If you want the public stats page to be accessible without authentication:
|
||
|
||
- Edit the Uptime-Kuma provider
|
||
- In *Advanced Protocol Settings > Authenticated Paths*, enter:
|
||
|
||
```properties
|
||
^/$
|
||
^/status
|
||
^/assets/
|
||
^/assets
|
||
^/icon.svg
|
||
^/api/.*
|
||
^/upload/.*
|
||
^/metrics
|
||
::
|
||
|
||
Redeploy the stack.
|
||
|
||
Uptime-Kuma will then be publicly reachable via `https://stats.mydomain.com`.
|
||
|
||
::alert{type="success"}
|
||
✨ __Tip:__ If you're using Authentik and don't mind exposing the admin panel to your local network, you can disable Uptime-Kuma's native authentication in its settings and rely solely on Authentik.
|
||
::
|