6.2 KiB
navigation: true title: Uptime-Kuma main: fluid: false
:ellipsis{left=0px width=40rem top=10rem blur=140px}
Uptime-Kuma
::alert{type="info"} 🎯 Goals:
- Install and deploy Uptime-Kuma
- Expose Uptime-Kuma
- (Optional) Protect Uptime-Kuma with Authentik ::
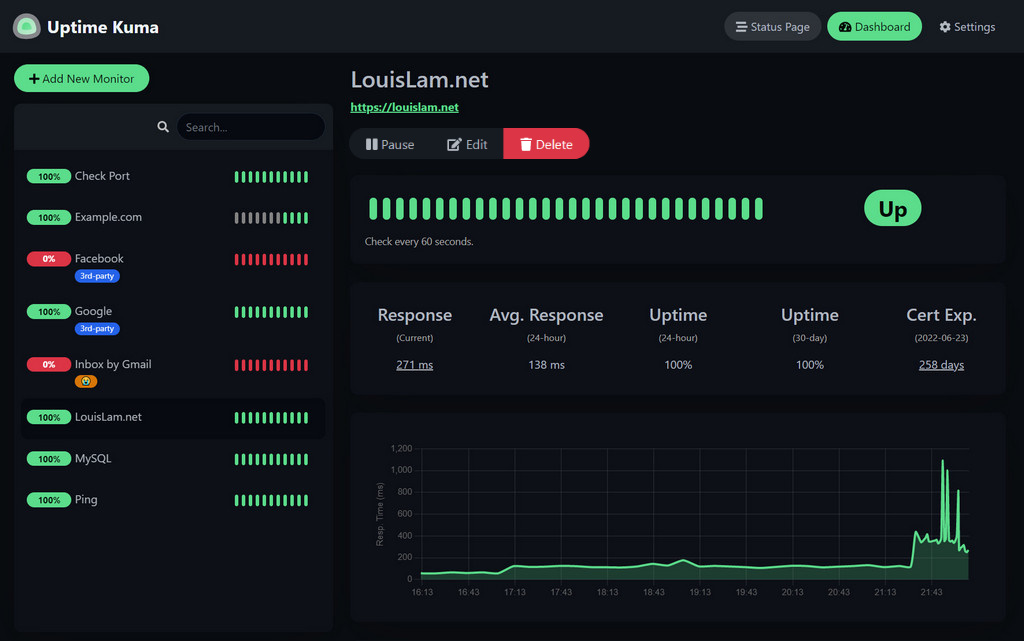
Uptime-Kuma is a container dedicated to service monitoring. The principle is to regularly send requests to your services to determine if they are online, and alert you if not. Uptime-Kuma is developed by the same developer as Dockge.
Installation
Folder structure
root
└── docker
    └── uptime-kuma
        ├── date
        └── compose.yaml
Open Dockge, click on compose, name the stack uptime-kuma, then copy and paste the following:
---
services:
  uptime-kuma:
    image: louislam/uptime-kuma:1
    container_name: uptime-kuma
    volumes:
      - /docker/uptime-kuma/uptime-kuma-data:/app/data
    ports:
      - 3200:3001 # <Host Port>:<Container Port>
    restart: always
::alert{type="success"} ✨ Tip: Add the Watchtower label to each container to automate updates
```yaml
services:
  uptime-kuma:
    #...
    labels:
      - com.centurylinklabs.watchtower.enable=true
::
You can now access the tool via http://yourserverip:3200.
::alert{type="danger"} :::list{type="danger"}
- If it fails: check your firewall rules. ::: ::
Expose with Swag
::alert{type="info"}
📋 Before you begin:
We assume you have the subdomain stats.mydomain.com with a CNAME pointing to mydomain.com in your DNS zone. And of course, unless you're using Cloudflare Zero Trust, port 443 of your router should point to port 443 of your server via NAT rules.
::
::alert{type="warning"} :::list{type="warning"}
- Uptime-Kuma does not use multi-factor authentication. Exposing Uptime-Kuma on the internet could compromise the machines it monitors. Only do this if you're using an MFA system like Authentik. Otherwise, don’t expose it with SWAG; use a VPN like Wireguard instead. ::: ::
In the Swag folders, create the stats.subdomain.conf file.
::alert{type="success"} ✨ Tip for those who dislike the terminal: you can use File Browser to browse and edit your files instead of using terminal commands. ::
sudo vi /docker/swag/config/nginx/proxy-confs/stats.subdomain.conf
Enter insert mode with i and paste the following config:
## Version 2023/12/19

server {
    listen 443 ssl;
    listen [::]:443 ssl;

    server_name stats.*;

    include /config/nginx/ssl.conf;

    client_max_body_size 0;

    #if ($lan-ip = yes) { set $geo-whitelist yes; }
    #if ($geo-whitelist = no) { return 404; }
    if ($geo-blacklist = no) { return 404; }

    # enable for ldap auth (requires ldap-location.conf in the location block)
    #include /config/nginx/ldap-server.conf;

    # enable for Authelia (requires authelia-location.conf in the location block)
    #include /config/nginx/authelia-server.conf;

    # enable for Authentik (requires authentik-location.conf in the location block)
    #include /config/nginx/authentik-server.conf;

    location / {
        # enable the next two lines for http auth
        #auth_basic "Restricted";
        #auth_basic_user_file /config/nginx/.htpasswd;

        # enable for ldap auth (requires ldap-server.conf in the server block)
        #include /config/nginx/ldap-location.conf;

        # enable for Authelia (requires authelia-server.conf in the server block)
        #include /config/nginx/authelia-location.conf;

        # enable for Authentik (requires authentik-server.conf in the server block)
        #include /config/nginx/authentik-location.conf;

        include /config/nginx/proxy.conf;
        include /config/nginx/resolver.conf;
        set $upstream_app uptime-kuma;
        set $upstream_port 3001;
        set $upstream_proto http;
        proxy_pass $upstream_proto://$upstream_app:$upstream_port;

    }
}
Press Esc, then save and exit with :x and Enter.
In Dockge, edit the SWAG compose and add the Uptime-Kuma network:
services:
  swag:
     container_name: # ...
      # ...
     networks:                 # Link container to custom network
      # ...
      - uptime-kuma            # Name of the declared network

networks:                      # Define custom network
  # ...
  uptime-kuma:                 # Name of the declared network
    name: uptime-kuma_default  # Actual name of the external network
    external: true             # Specifies it's an external network
Restart the stack and wait until SWAG is fully operational.
::alert{type="info"} :::list{type="info"}
- Here we assume that the network name of Uptime-Kuma is
uptime-kuma_default. You can verify the connection by visiting SWAG's dashboard athttp://yourserverip:81. ::: ::
That's it! Uptime-Kuma is now exposed, and you can access it via https://stats.mydomain.com.
::alert{type="success"}
✨ Tip:
You can protect this app with Authentik by opening stats.subdomain.conf and uncommenting the lines:
include /config/nginx/authentik-server.conf;
and
include /config/nginx/authentik-location.conf;.
Don’t forget to create an application and provider in Authentik. If you want the public stats page to be accessible without authentication:
-
Edit the Uptime-Kuma provider
-
In Advanced Protocol Settings > Authenticated Paths, enter:
^/$
^/status
^/assets/
^/assets
^/icon.svg
^/api/.*
^/upload/.*
^/metrics
::
Redeploy the stack.
Uptime-Kuma will then be publicly reachable via https://stats.mydomain.com.
::alert{type="success"} ✨ Tip: If you're using Authentik and don't mind exposing the admin panel to your local network, you can disable Uptime-Kuma's native authentication in its settings and rely solely on Authentik. ::